

Welcome to our blog on cleaning your climbing shoes using Shoe Chalk! If you're a frequent climber, you understand the importance of keeping your gear clean and well-maintained. It not only helps to extend the life of your equipment, but it also helps to keep your feet healthy and pleasant when climbing. This is where Shoe Chalk comes in handy. In this article, we'll show you how to use this innovative product to clean your climbing shoes and keep your feet healthy. Whether you're new to climbing or have been doing it for years, Shoe Chalk is a must-have weapon in your arsenal. So let's get this ball rolling!
To get started, you will need the following:
- Shoe chalk
- A bucket or tub: you will need a bucket or tub to hold the warm water and your shoes.
- Dish brush or old toothbrush will do.
- Finally will need a towel to dry your climbing shoes after cleaning them.

The cleaning method
Using Shoe Chalk to clean your climbing shoes is simple and effective. Follow these steps for the best results:
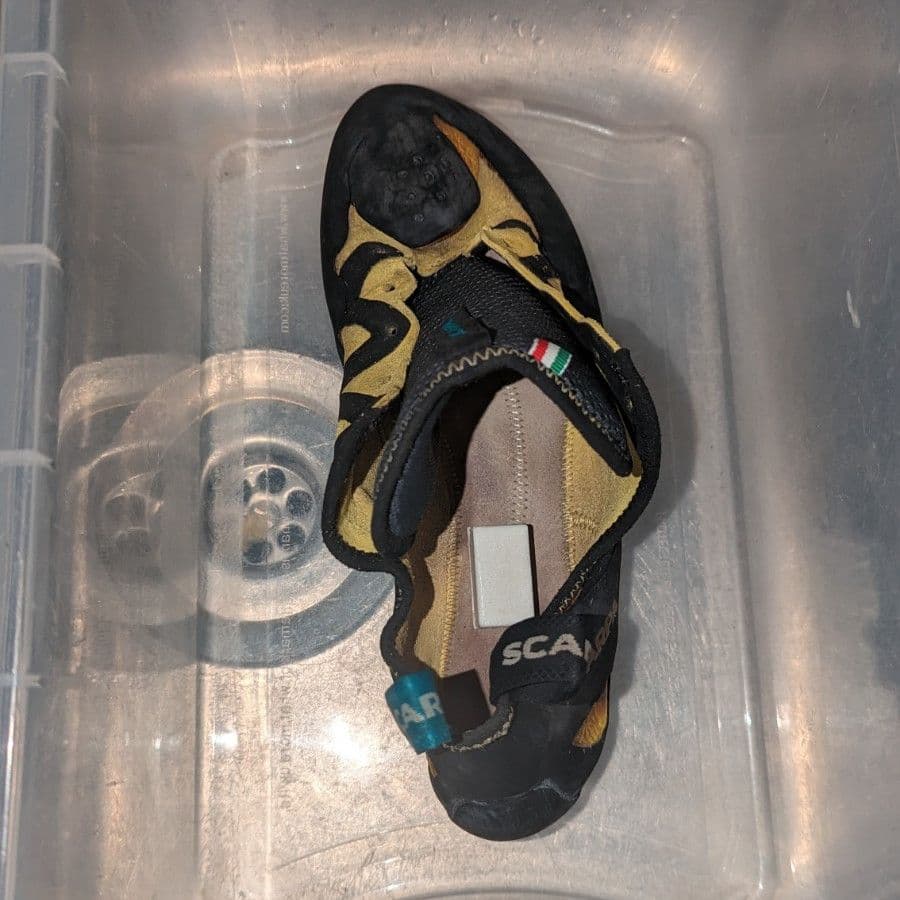
- Place the block of Shoe Chalk in your climbing shoe. This is the key to activating the cleaning solution.
- Add warm water to the shoe. The Shoe Chalk will dissolve and create a cleaning solution as the water is added.
- Stand for 60 seconds to allow the solution to foam and penetrate the inside of your shoe. This helps to loosen and remove dirt and other debris.
- Scrub the inside of your shoe with a brush, using circular motions to loosen and remove dirt and other debris. It's important to get into all the crevices and corners of your shoe to ensure a thorough clean.
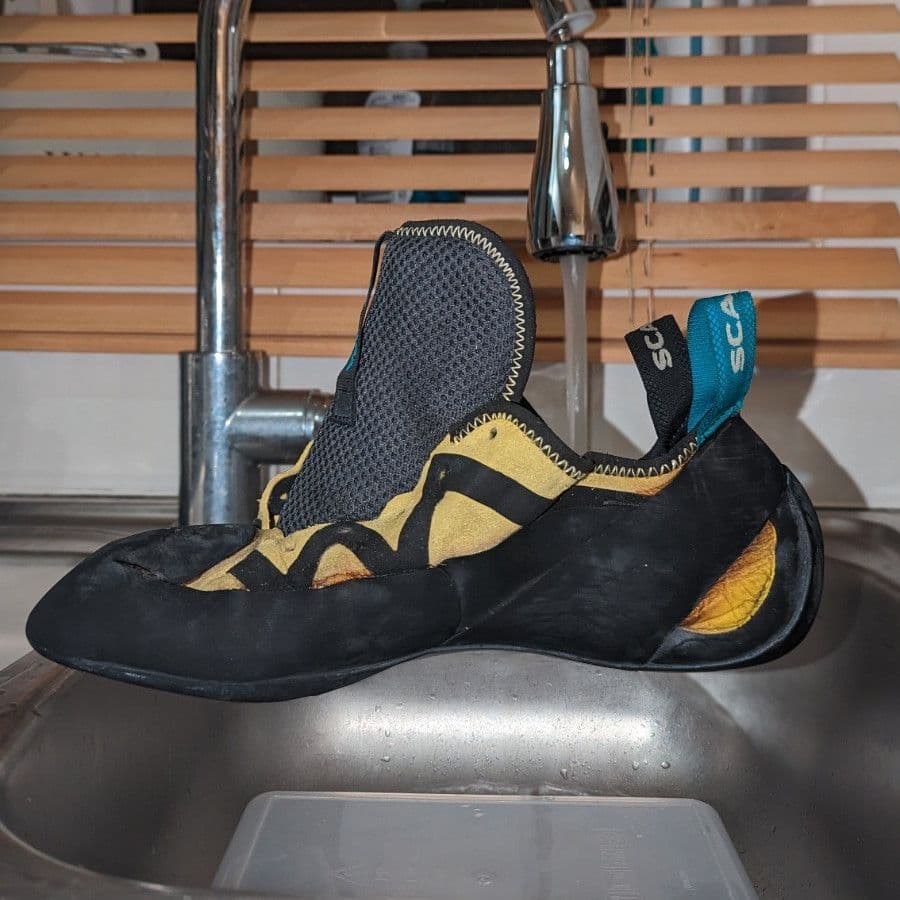
- Rinse your shoe with water to remove the cleaning solution and any remaining debris. You may want to use a small cup or bucket to pour water over the inside of your shoe, or you can simply hold it under running water.
- Allow your shoe to air dry before wearing it again. It's important to let your shoes dry completely before wearing them to prevent the growth of bacteria and fungi.
 |  |  |
 |  |  |